How to Stop Bucephalandra Melt After Planting Tissue Cultures
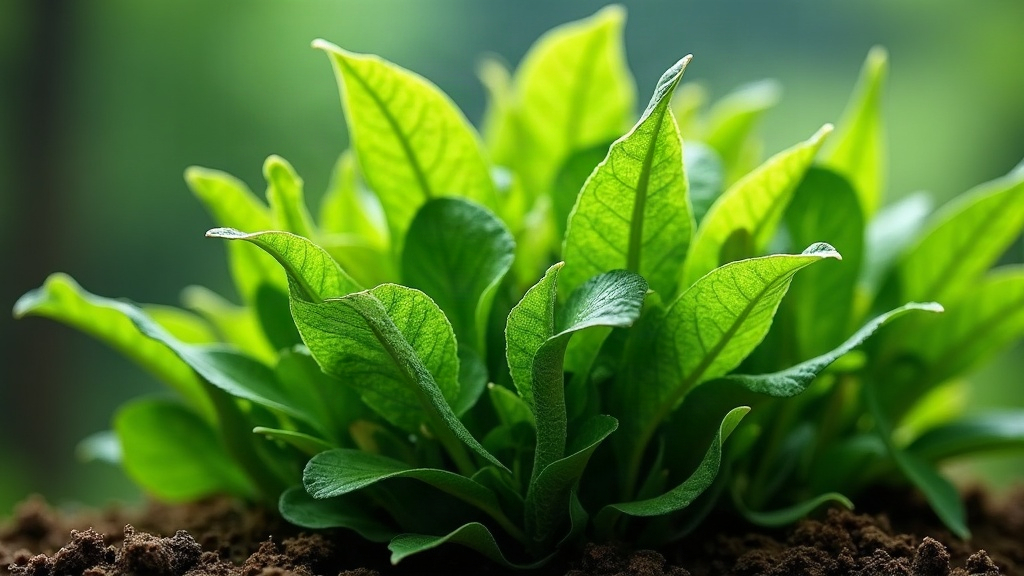
Planting tissue culture Bucephalandra is a great way to bring pest-free, healthy epiphytes into your aquascape, but there’s a well-known catch: melt. Bucephalandra melt after planting tissue cultures usually shows up when the plant can’t quite handle the jump from a humid, nutrient-fed lab cup to being dunked fully underwater in your tank. To actually stop the melt, you need to strip off every trace of that nutrient gel, mount the rhizome the right way (never buried), and keep your water parameters rock steady while dialing lighting down a notch. Here’s exactly how to make that transition smoother so your new plants pull through.
Understanding Why Bucephalandra Melts
Before fixing the melt, it’s worth knowing where it comes from. Tissue culture plants (also called in vitro plants) grow in sterile cups filled with a specialized nutrient gel, and they’re raised “emersed,” meaning above water, in near 100% humidity.
Drop them straight into your aquarium and the plant goes into shock. To cope with life underwater, Bucephalandra typically sheds its thicker emersed leaves and pours its energy into growing thinner, submersed ones that are built for pulling nutrients out of the water column instead of the air. Losing a leaf or two is completely normal. The real problem is when the melt travels down into the rhizome, because at that point the plant is dying, not adjusting.
Step-by-Step Guide to Stop Bucephalandra Melt
You start preventing serious melt the second you crack open that tissue culture cup. Here’s the process.
1. Clean the Tissue Culture Gel Thoroughly
The single biggest mistake people make is leaving bits of that agar-based nutrient gel stuck to the roots. In a warm tank, that leftover gel breaks down fast and becomes a breeding ground for fungus, which rots the plant from the roots upward.
- Gently lift the plant clump out of the cup.
- Rinse the roots under lukewarm, running tap water.
- Grab a pair of tweezers and pick out any stubborn gel wedged between the roots. It hides in there more than you’d expect.
- Split the big clump into smaller individual plantlets so water can actually flow around each rhizome instead of pooling against a dense mass.
2. Proper Planting and Rhizome Placement
Bucephalandra is an epiphyte. It grows on surfaces, not buried in substrate, and it has a thick horizontal stem called a rhizome.
- Never bury the rhizome. Tuck it under aquasoil, sand, or gravel and it will suffocate, melt, and die. This is probably the number one killer of new Buce.
- Attach it to hardscape instead. Aquarium-safe cyanoacrylate super glue or plain cotton thread both work fine for securing the roots and rhizome to driftwood or porous rocks like dragon stone or lava rock.
3. Dial in Your Water Parameters
Stability is your best weapon against melt, full stop. Tissue culture Bucephalandra hates fluctuating temperature and pH almost as much as it hates being buried.
- Temperature: Aim slightly cool, somewhere between 70°F and 76°F (21°C to 24°C). Warmer water ramps up the plant’s metabolism and speeds the melting process along, which is the opposite of what you want.
- Flow: Keep a gentle but steady current going. It carries nutrients to the plant and flushes away the organic waste that would otherwise sit and rot nearby.
4. Manage Lighting and CO2
Freshly planted tissue culture Bucephalandra can’t handle a blast of high-intensity light. Crank your LED to 100% right away and you’ll stress the plant into melting harder and faster.
- Run your lights at moderate or dimmed intensity, roughly 40-50%, for the first two weeks.
- Or just glue it into a shaded spot, tucked under taller plants or beneath overhanging hardscape, until it settles in.
- Running injected CO2? Keep it consistent, around 20-30 ppm. CO2 genuinely speeds up the transition, but swings in concentration cause more damage than they fix.
What to Do If Melting Starts
Even with textbook care, you’ll sometimes still see a leaf or two turn translucent or go mushy. If that happens:
- Don’t panic and don’t toss the plant. A little melt isn’t a death sentence.
- Prune away the decay. Take sterilized aquascaping scissors and snip the melting leaves off as close to the rhizome as you can manage. Leave rotting tissue attached and it spreads the decay while inviting algae to move in.
- Check the rhizome itself. Pinch it gently with tweezers. Firm and green means the plant is alive and will push out new aquatic leaves eventually, so give it time. Brown and mushy under light pressure means it’s dead, and you should pull it out before it starts spiking ammonia in your tank.
Preventing Algae During the Transition
Melting leaves dump organic waste into the water, and algae treats that like a free buffet. Once algae takes hold on a struggling tissue culture plant, it basically seals its fate, the plant gets smothered and that’s game over. So step up your maintenance during those first three weeks: run 30% to 50% water changes twice a week to strip out the excess organics and keep things clean while the plant finds its footing.
Conclusion
Getting tissue culture Bucephalandra through this transition comes down to patience and a light touch, nothing more exotic than that. Rinse off every trace of the lab gel, keep the rhizome exposed on hardscape rather than buried, and hold your water cool and stable with moderate light, and you’ll stop the melt in its tracks. Give it a few weeks to settle in, and that plain little clump from the cup will reward you with the kind of iridescent, colorful growth Bucephalandra is known for.